Paging 3 — Loading States, Separators, refresh(), retry()

In the previous post, a simple implementation of Paging 3 was described. If you do not have sufficient information about Paging 3, please see the post about the usage of Paging 3 first.
In this article: I will cover refresh and retry functions, load state adapters, loading state listener, and list separators.
You can find the full implementation of Paging 3 in my sample Github repository.
refresh() and retry()
PagingDataAdapter has refresh() and retry() functions in case you need to reload data or try to load after an error such as network disconnection. Assuming that you have wrapped your RecyclerView with SwipeRefreshLayout to refresh data when the user needs it, it is easy to implement in just one line:
swipeRefreshLayout.setOnRefreshListener { adapter.refresh() }
The retry() function can be implemented like this too. Just call the adapter’s retry() function wherever you need it.
Displaying the Loading States
Paging 3 has built-in support for displaying loading states in two ways: loading state adapters and loadStateListener.
Using Loading State Adapters
In Paging 2, you have to implement your own logic into the adapter to inform the user that data is loading. This was causing a little bit of a boilerplate. With Paging 3, built-in support for loading state adapters is available for both header and footer.
Let’s get through to the code:
The layout has a ContentLoadingProgressBarto show when data is loading, a MaterialTextView to inform the user when an error occurs, and a MaterialButton to retry the last request if necessary.
As you see in the code, the adapter extends LoadStateAdapter. The rest of it is nearly the same as a normal RecyclerView adapter. The only difference is the loadState parameter in the onCreateViewHolder() and onBindViewHolder(). This parameter will be used to update UI according to changes in the loading state.
Also, we have a PagingDataAdapter in the constructor. It will be used to call its retry function -implemented in the init block of ViewHolder. This can also be achieved by adding a callback to the fragment/activity, but I prefer this way.
Setting the header and footer loading state adapters is as easy as that. There is nothing more to do to make it work.
Using a LoadStateListener
Another option to show the loading state is to use the loadStateListener method. All you have to do is to add the listener to the adapter and update your UI according to your needs.
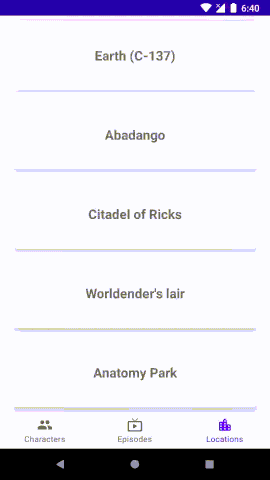
List Separators
You have created your PagingSource, gotten the data, added your loading state adapters. Now, you may need one more thing: separators between your list items.
To add separators, the insertSeparators() extension can be used before submitting data to the adapter.
Let’s create the models first which we will use for transformation.
Notice that a tag field was added to LocationSeparator. It will be used in DiffUtil, so the tag must be a unique value.
This transformation adds a separator object between two items. The top separator for the first and the bottom separator for the last item are excluded as you see in the when block.
As you see in the code, the adapter should be updated to show multiple view types -in our case, separators and location data. If you aren’t familiar with this, follow this link for a detailed example.
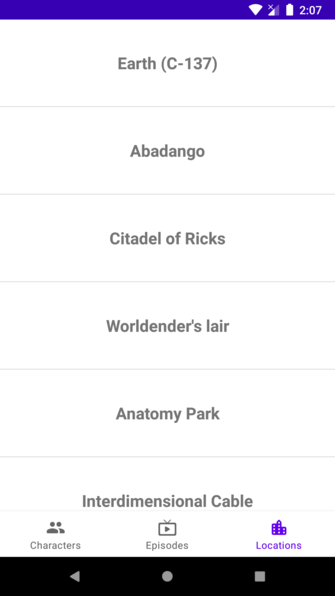
After all the changes, our list will look like this.
Conclusion
The Paging 3 library provides first-class Kotlin support, designed to fit the recommended Android app architecture and works seamlessly with other Jetpack components. It can handle easy or complex data operations like data loading from the network, a database, or a combination of different data sources. Also, the new built-in features we covered in this post make implementation very easy.

