Zero To Hero in KMM with Compose and SwiftUi
By Ali Baha
I am writing this article while the government of my country has banned the internet in Iran. People are protesting in the streets to oppose the compulsory hijab and the killing of Mahsa Amini by the police. Android community, Use the hashtag #MahsaAmini on social media to show your support for Mahsa and the Iranian people.

Kotlin Multiplatform Mobile
I thought Kotlin Multiplatform Mobile was complicated to use before I decided to try it, but I found it to be super easy to use, so why not use KMM that offers the following advantages: (Read more here)
- Using KMM, developers can use a single codebase for the business logic of iOS and Android applications and write platform-specific code only as necessary, such as when implementing a native UI or working with platform-specific APIs.
- Since KMM is easy and fast to modify, it requires less maintenance.
- A native programming language is used in KMM, which is based on Kotlin.
- With appropriate planning, KMM can reduce development time by 30–40% for iOS, since only the UI layer needs to be written.
So let's do magic. 🤩
- As a first step, we have to create a KMM project, for which we should add the Kotlin Multiplatform Mobile plugin. (Make sure to read here for more information)

Each Kotlin Multiplatform Mobile project includes three modules:
- shared is a Kotlin module that contains the logic common for both Android and iOS applications — the code you share between platforms. It uses Gradle as the build system that helps you automate your build process. The shared module builds into an Android library and an iOS framework.
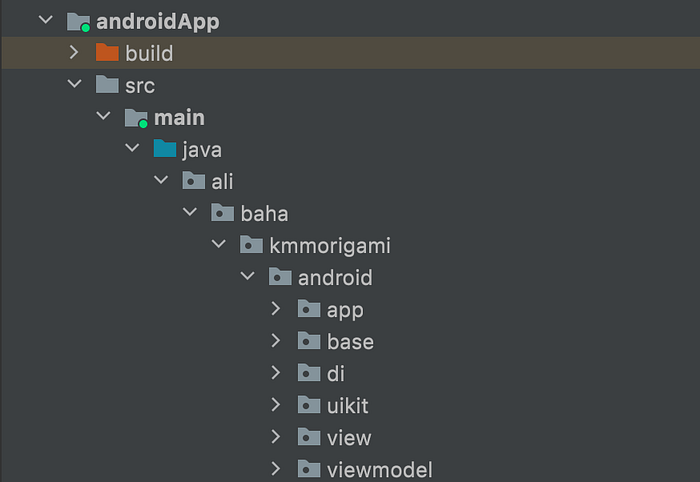
- androidApp is a Kotlin module that builds into an Android application. It uses Gradle as the build system. The androidApp module depends on and uses the shared module as a regular Android library.
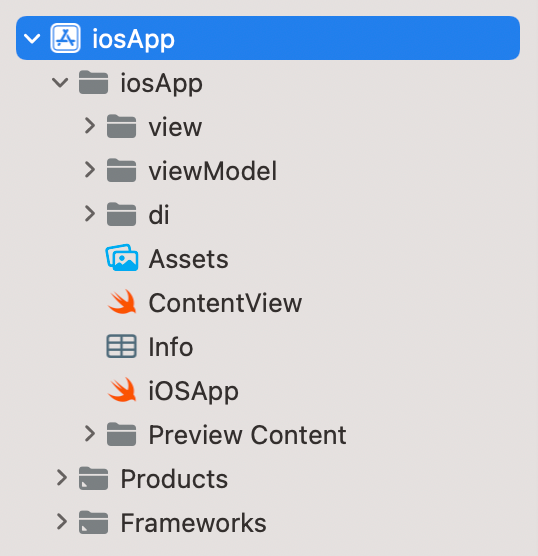
- iOSApp is an Xcode project that builds into an iOS application. It depends on and uses the shared module as an iOS framework. The shared module can be used as a regular framework or as a CocoaPods dependency, based on what you’ve chosen in the previous step in iOS framework distribution. In this tutorial, it’s a regular framework dependency.

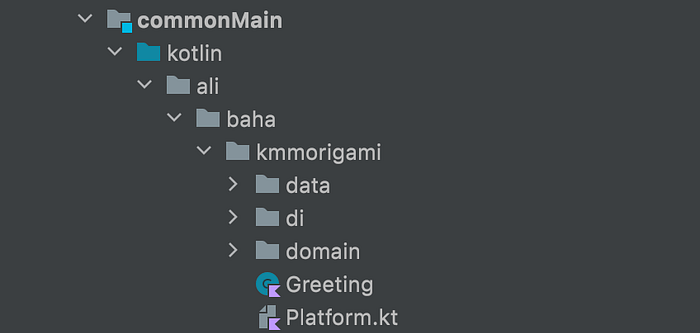
The shared module consists of three source sets: androidMain, commonMain, and iosMain.
- The second step is to use Koin for dependency injection and Ktor for remote service after we have created our project. Add their library links in the dependencies section in build.gradle.kts in the shared module.
And add a serialization plugin in the plugin section.
- Third, let’s have some fun with coding.
Create new directories in your shared module. I want to use clean architecture when writing my code, so we need data and a domain directory.
In the domain, we set the entity, interface of the repository, and use case.
Entity:
Repository interface:
Use case:
In data, set remote service, data source, and implementation of the repository.
Remote Service:
Data Source:
Repository implementation:
To implement DI, we need to have our modules defined, how? Just like this.
We have created our HTTP client for connecting to our remote service then pass it to the data source and inject the data source into the repository and repository to use case.
- Now we are done with the shared module, in the fourth step, we need to write specific code for the presentation in both android and iOS applications.
Android
We must add the compose, coroutines, Koin, navigation, and coil libraries.
Now let's create our app class:
Don’t forget to add this class to your manifest file, and as I always forget, make sure to add internet permission as well.
Koin has been initialized and has set the app module due to injecting the view model into the activity.
App module:
It’s time for activity, but a simple one that handles our navigation system.
Here is the code for Compose navigation. If you are already familiar with it, great, if not, please read more about it here.
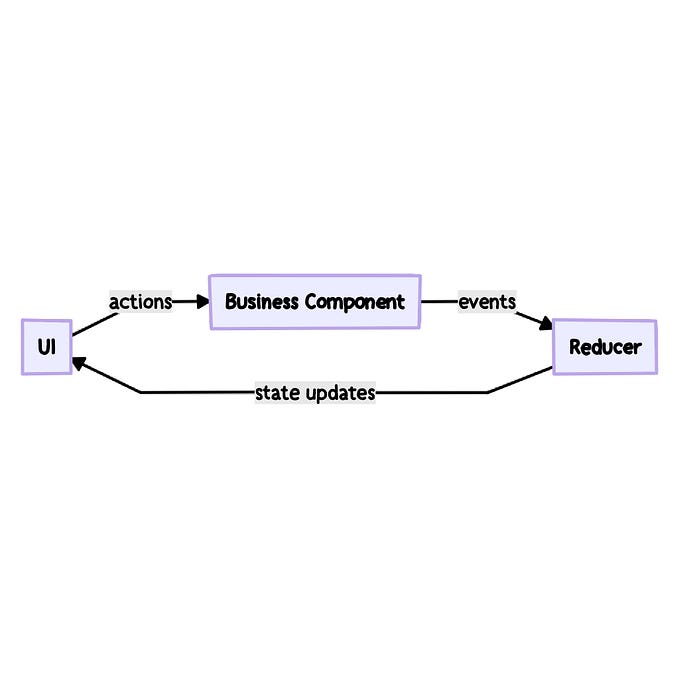
Since MVI fits best to handle the state of views, I used Yusuf Ceylan’s BaseViewModel to create my view model class. I have one intent that gets data, and four states to show the view.
Intent class:
State class:
View Model:
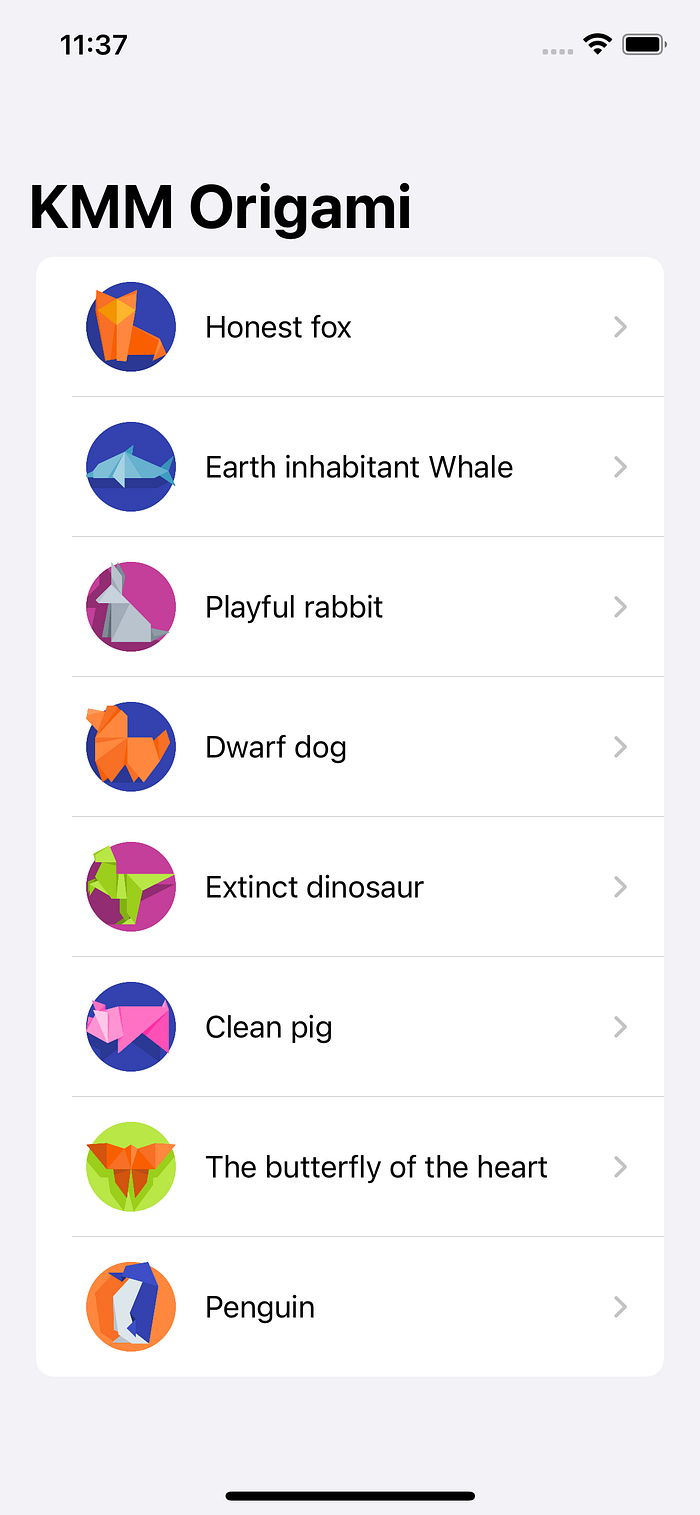
Last but not least, there is the Android Home view:
Congratulations, Our journey is almost 70 percent complete now that we are done with Android.
iOS
Time For ios, my favorite part:
Koin needs to be initialized in the app, a view model created, and the state handled in the view, just like Android.
Let’s begin with the application class:
Ios Koin injector:
you must import a shared module to use it as I did. Also simply created an extension to use the use case in our swift project.
And don’t forget that in your platform class in the iosMain in the shared module, you need to add this method to use in Swift.
Then create an enum with three values to handle the state:
And create a view model to get data from our Kotlin use case class:
Using your Kotlin classes in a Swift project is as simple as using koin.get() if you’ve defined them in your Injector Swift class.
Finally, use the view model in the home view and show the view in its state as follows:
Our simple Android and iOS applications have been created, but is KMM ready for production? Is KMM reliable for large-scale projects? No, I don’t believe so.
How about you? Are you more likely to use KMM because of its benefits or two separate native applications?
Source code
#MahsaAmini — Iranian people
WE NEED YOUR HELP! Iran’s security forces continue to shoot and kill protesters — including women and children — while shutting down internet access so they can’t organize or communicate with the world.
Please demand that your officials, companies, and friends show support for the Iranian people and condemn their oppressors. Android community, Use the hashtag #MahsaAmini on social media to show your support for Mahsa and the Iranian people.