Testing Custom Views with Robolectric 4
This is a short tutorial/intro on how to set up and use Robolectric to create Component tests for your custom views. If you‘re not familiar with Robolectric, it’s a library which, instead of using an Emulator/Device, allows you to Unit test your Android application. Without any further delay, let’s get started.
Add the Robolectric dependency
Don’t forget to add: includeAndroidResources = true, but that’s about it.
Component tests
Before we write any tests I think we need to understand what we’ll be testing. For this, I’ve created a custom view called FibonacciTextView.kt

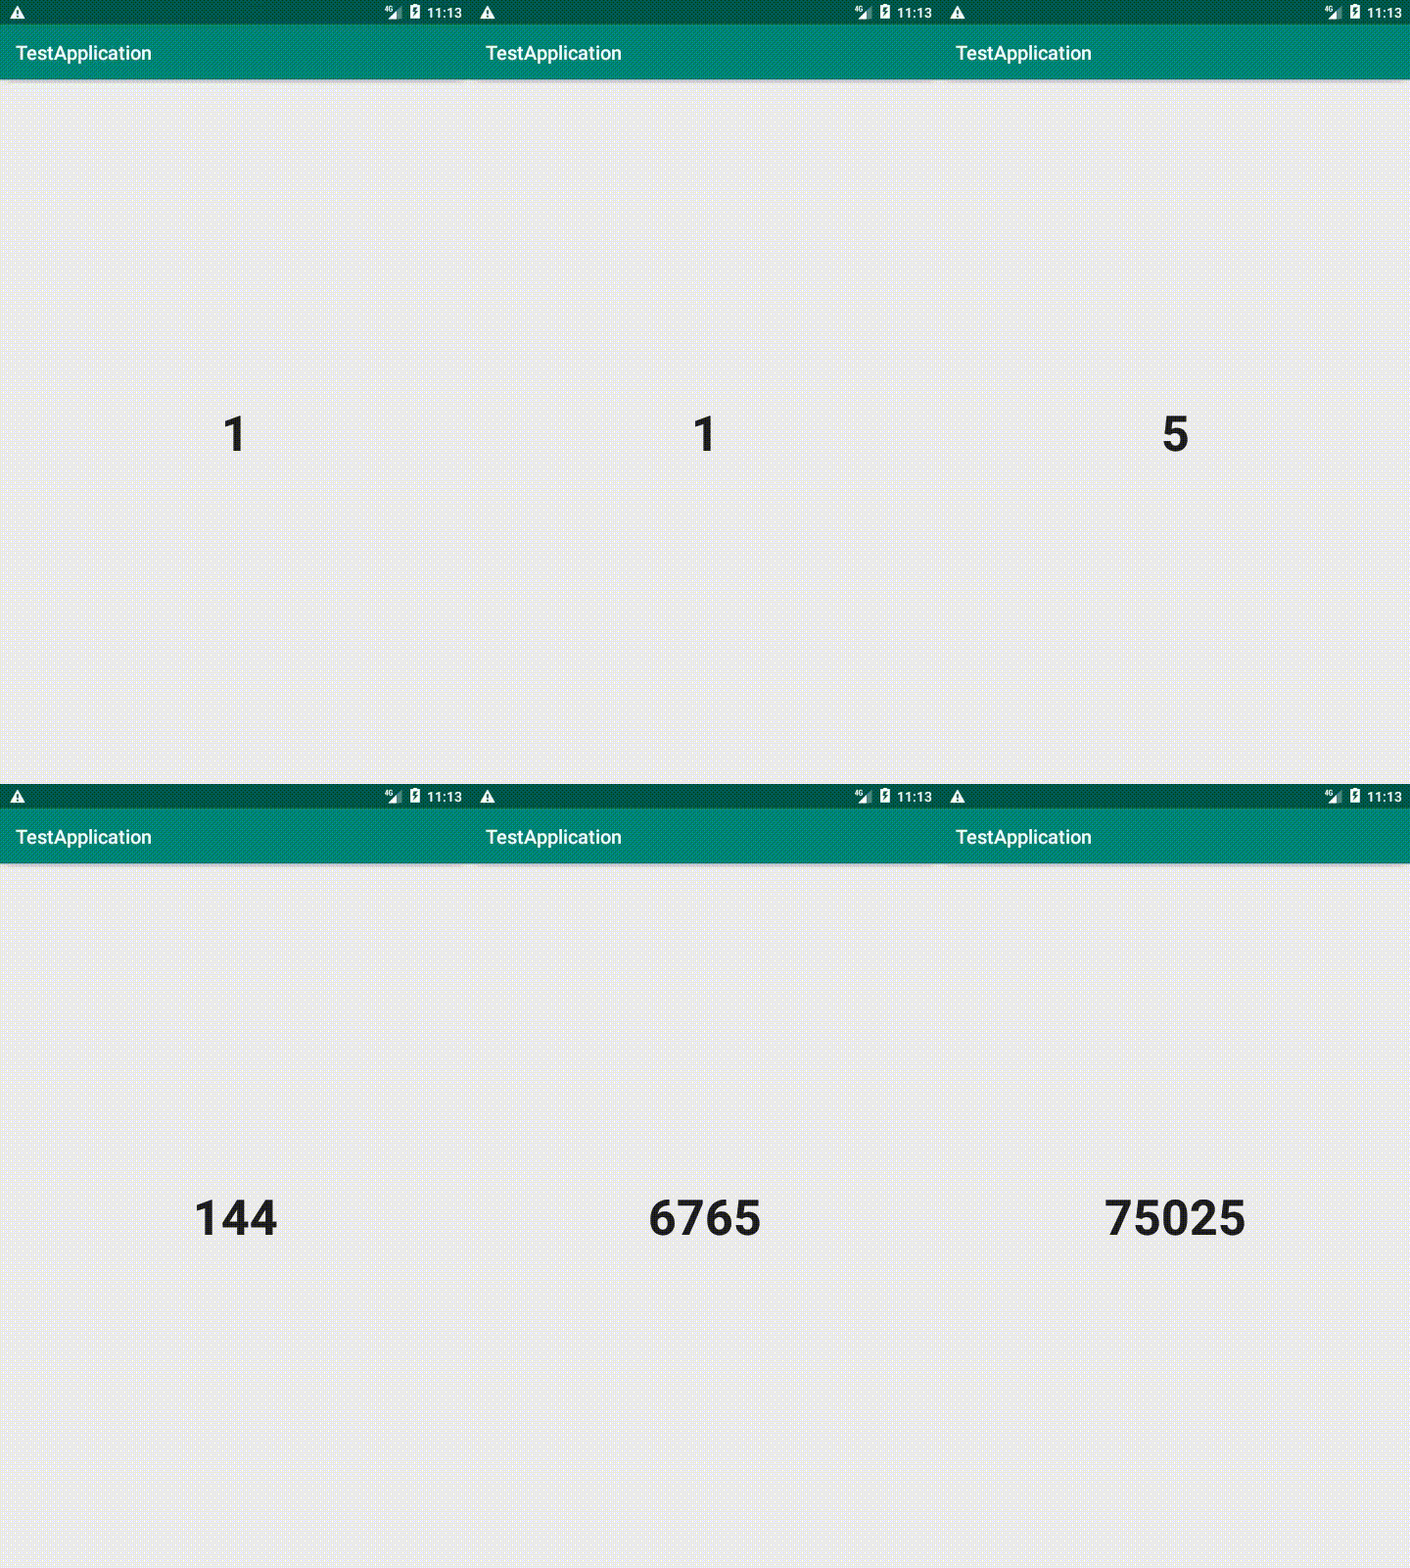
It will display the number 1 by default. When clicked, it will count up in the Fibonacci sequence, displaying the number series: 1, 2, 3, 5, 8, 13, 21, 34, 55, 89, 144… and so on. But as you can see, there aren’t any public functions or fields in the class, so how do we test this? Here is where Robolectric comes in handy. With Robolectric we can create UI tests similar to those in Espresso (but much faster and more lightweight). Tests for this class would look something like this:
These two tests cover the basic (happy path) logic and behavior of the view. We test the value displayed by the view and that the click listener works. Simple, right! :)
Testing with Robolectric
The example above doesn’t paint the whole picture of setting up Robolectric tests. What we actually did was to use Robolectric to create an instance of FibonacciTextView which we could then use in the tests. I like to think of it like this: We create an activity which we put the custom view in. Then we test the behavior of the view as a user would use it. Here is the setup for our test:
Before each test, we create a new instance of FibonacciTextView. To do this we need a Context. The context we’re using is an Activity instance created with Robolectric. This is what allows us to run these tests as Unit tests with an Activity context, without running in the androidTest folder (using an Emulator or real Device).
Conclusion
So, this example was pretty basic. With Robolectric you can do much more, testing: view attributes, dialogs, fragments, activities, etc. In my team, we’re still exploring the possibilities on how to best use these types of tests (since our Espresso tests are too flaky). I don’ t think we’ll replace the Espresso tests completely, but right now we’re only creating new tests using Robolectric with MockK and it’s going pretty well :)
Thank you for reading!
If you want to have a look at the full source code for this sample, here is the link:
