Supercharge Android dev with Scrcpy and ADB WIFI
There are two types of android developers, the ones who are okay developing and testing on an emulator, and the ones who cannot do without a physical device.
I lie somewhere in the middle, I need a physical device for development, but I also need it to be on my screen, for when I am presenting my work to someone over a Google meet/zoom/hangout call.

Enter Scrcpy
A colleague of mine recently stumbled upon Scrcpy, an open-source tool developed by Genymotion.
In their own words, Scrcpy is:
This application provides display and control of Android devices connected on USB (or over TCP/IP). It does not require any root access. It works on GNU/Linux, Windows and macOS.
Cannot stress this enough, but this tool has been a god gift!! Even if you are developing on a high-end mac system, when you have emulator instances running, you’re bound to eventually feel that you’re writing code on a Pentium 4 machine. :(
Q: Okay okay, but how do we Supercharge!?
Coming to the point, you can use Scrcpy to cast your physical device’s screen on your laptop, and interact with it!! i.e. effectively removing the need of an emulator altogether, and you get a boost in performance since the clock cycle hungry emulator isn’t running on the system. Yay!
Bonus: How to cast your device wirelessly maintaining interactability
Enter ADB WIFI. We are going to use ADB WIFI and cast the screen of our physical device to the development machine wirelessly!! Can not stress this enough, I cannot work very efficiently when I have a cluttered desk. And if you’re like me, you love the physical device to test out your changes, your desk is bound to get cluttered with multiple wires and devices.
To avoid this, all you have to do is, connect your device to the system once and create a TCP connection over the Wifi. Mind you both the devices need to be on the same network.
Connect Your Device Over WIFI
You can follow these simplified steps, or head over to official Google documentation on how to connect a device over WIFI. https://developer.android.com/studio/command-line/adb#wireless
- Connect your device to your system via USB.
- Execute the following command to establish a TCP connection with the connected device.
adb tcpip 5555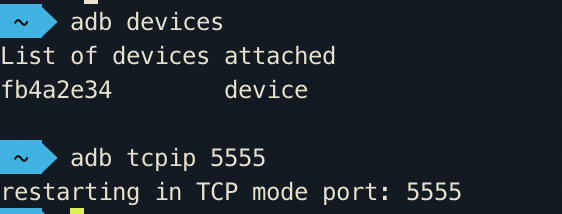
3. Now find the IP address of your device. you can find the IP address at Settings > About tablet (or About phone) > Status > IP address.
4. Execute the following command to connect with the device.
adb connect <Android_device_id>:5555Viola! Now you can disconnect the phone and you will still see that your device is connected to your system on adb.

Run Scrcpy and Cast your device
In case you haven’t already set up Scrcpy on your device, hop on to the official documentation and install it on your, it is available for Mac, Windows, and various Linux Distros.
For Mac, this application is available in homebrew, just run
brew install scrcpyTo cast your device to screen now, just open a new terminal instance and execute
scrcpy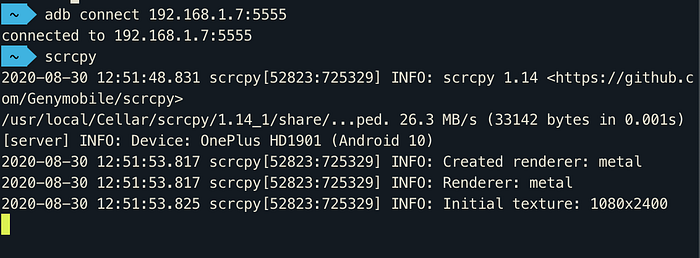
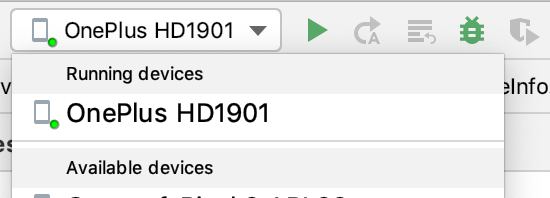
As long as you have only one device connected via ADB, Scrcpy will automatically connect and you have your physical device cast to your laptop screen wirelessly, you can even interact with it!!! In case you want multiple devices connected wirelessly via Scrcpy, Please comment! I’d be happy to write a guide for that as well. :)
Conclusion
- Using Scrcpy to cast your phone, eliminating the need for an emulator. Doing so we have multiple performance benefits, also the feeling of doing the development of physical device stays.
- Using ADB WIFI with Scrcpy to cast your device wirelessly! :D
Thank me later, guys!!
If you think this article has helped you Please clap for this and let’s celebrate together, or can help someone you know, please share!
Cheers.
Featured in AndroidWeekly #430