Perfecting Process for Presenting PRs
This post demonstrates some ways we can improve our pull request process to add important information to help the reviewer understand our changes faster.
I’m a visual person. When I’m reviewing code, I really appreciate when pull requests add some context around how a code change affects the end-user:

It’s a lot of overhead to do this for every UI-affecting code change— unless you’ve got a process that doesn’t slow you down.
Then, it’s an extra minute spent on each PR for you, but at the benefit of saving your reviewers’ time which is way more valuable.
Red-green-refactor
If you’re waiting until you open your PR to take a before and after screenshot, you’ll get frustrated because you’ll have to build your head branch again.
As with Test-Driven Development, we need to start with a failing test. Take a “before” screenshot or screen recording before you write any code.
After you’ve implemented your changes, and you’re building/running it to verify the fix (as we never open a PR without testing, right…?), take the “after”.
We waste no time with unnecessary builds and it helps you focus on the change you need to make, which can mean a smaller PR.
As with TDD, the refactor step is often forgotten. We’ll uphold that tradition and forget about it here too.
Saving screenshots and making screen recordings
The Logcat tab in Android Studio lets you take screenshots (camera icon) and record video (play icon) for the selected device:

With screenshots, I save them with the default settings to Desktop. If it’s the “after” screenshot, you can also “Copy to Clipboard” and paste it directly into GitHub, rather than saving it directly.
For screen recordings, I keep “Show taps” enabled on my device (you can find this under “Developer options”) — I found that the “Show taps” checkbox that’s available when you start a screen recording via Logcat messes up the device setting.
I use default settings for screen recordings too, and I make sure that I pause at the start and end of the video for a few seconds so that there’s time for people’s eyes to settle before the action begins. Since GIFs will loop, it’s also nice if you end the recording on the same screen or position as you started it.
Converting screen recordings to GIF
Sebastiano Poggi wrote a nifty script that uses ffmpeg to convert videos to GIFs — unfortunately, GitHub doesn’t allow uploading video files even though they can sometimes be smaller.
Clone the repository somewhere safe, and add it to your path:
export GITHUB=~/src/github.com
export PATH=$PATH:$GITHUB/rock3r/giffify
Then you can use the giffify.py script anywhere to convert a video file:
giffify.py ~/Desktop/before.mp4 -dh 640and it’ll save before.gif in the same place as the source file.
Setting a desired height of 640 pixels means it’s usually small enough for GitHub’s size limits, and also small enough not to overshadow other parts of the description.
Prettier screenshots
If you need it to look fancy, e.g. for a slide deck for clients or a presentation, you can use this script (thanks Lara Martín and Emma Guy!) to clean up the status bar.
Using the aliases you can enable and disable demo mode on your device with demoOn or demoOff.
Markdown tables
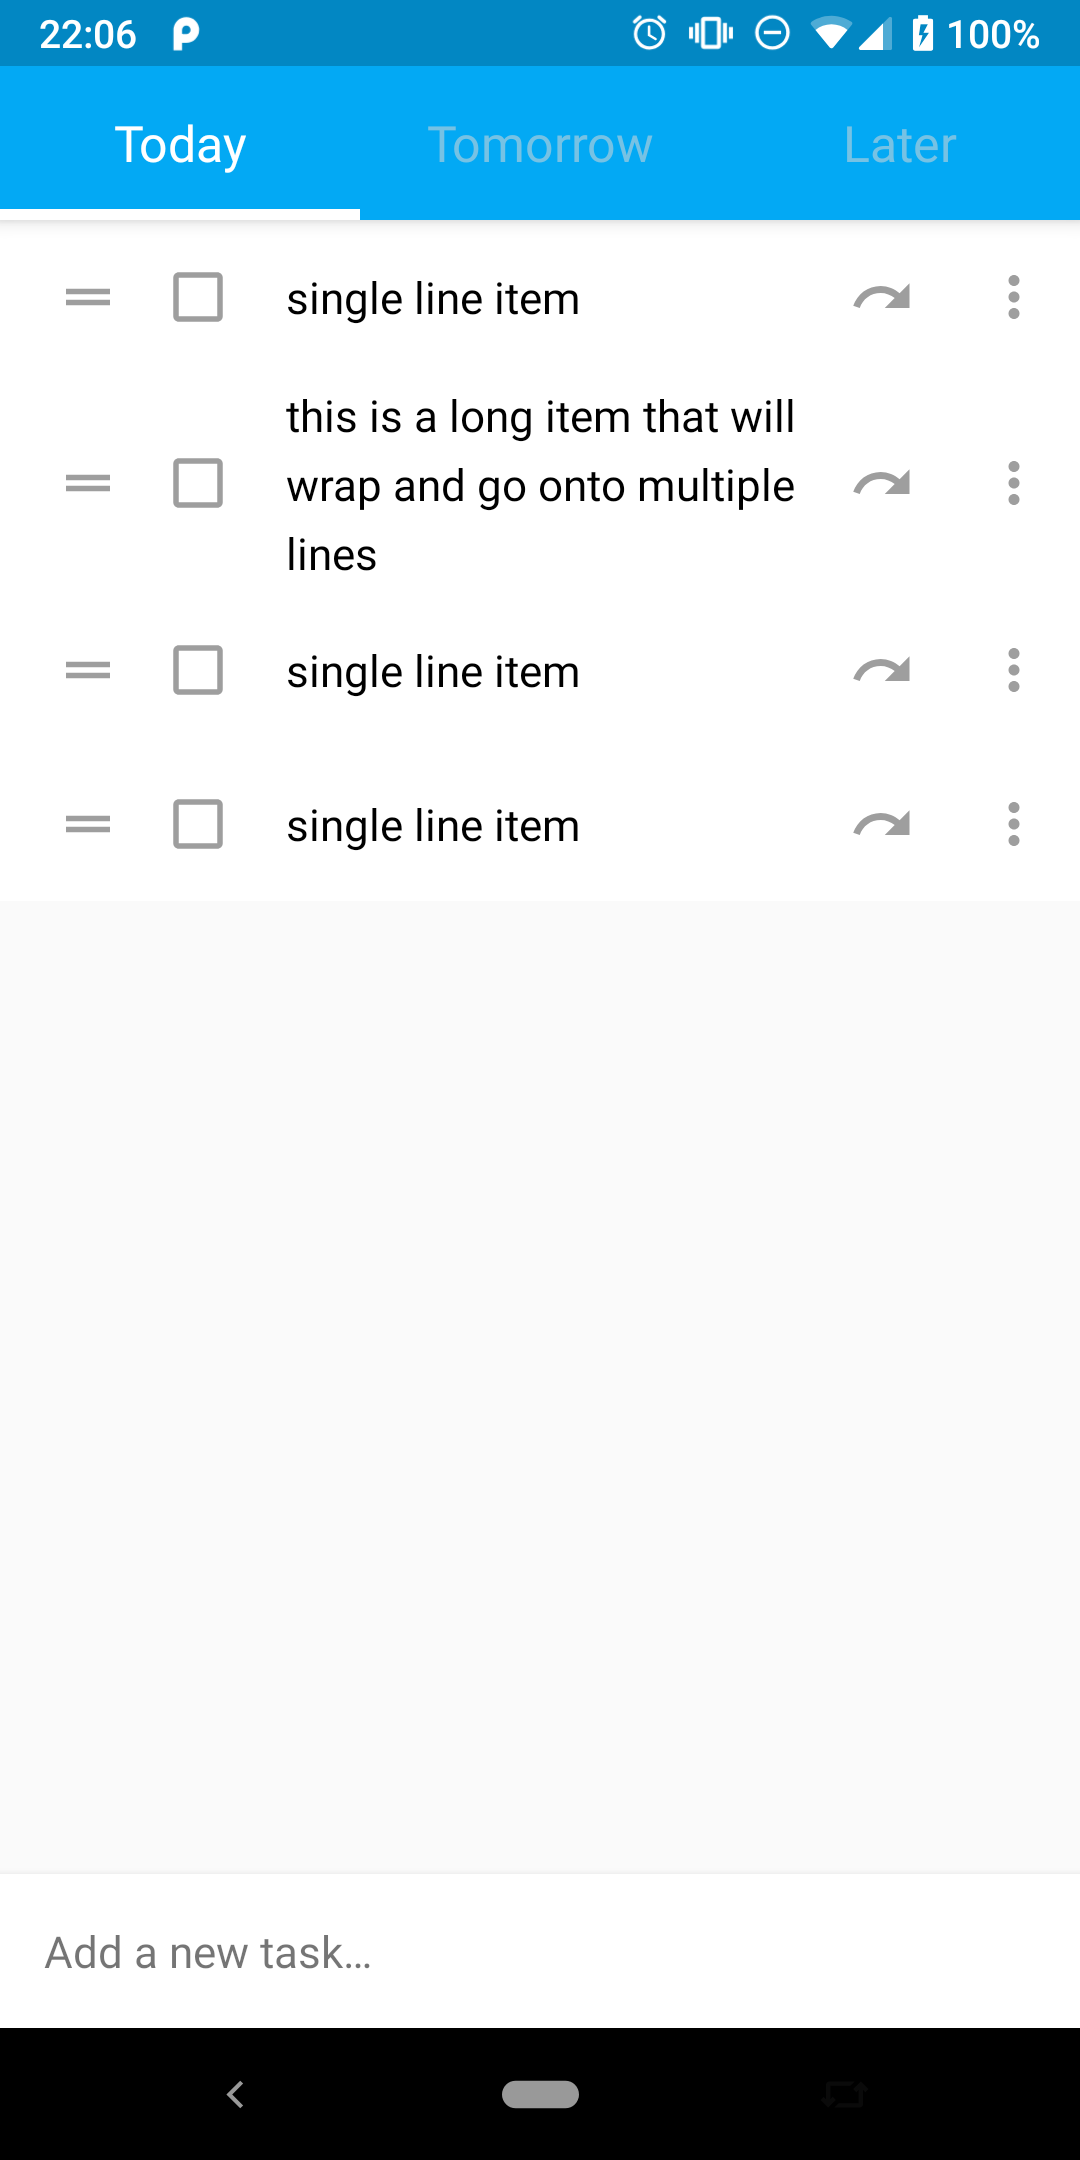
Side-by-side comparisons are really useful for screenshots or very short GIFs.
Before | After
---|---
<image1> | <image2>
The syntax is a bit finicky, but when you get used to it, you can type it while the images are uploading, then cut and paste the URLs into the correct places.
Before | After
---|---
 | 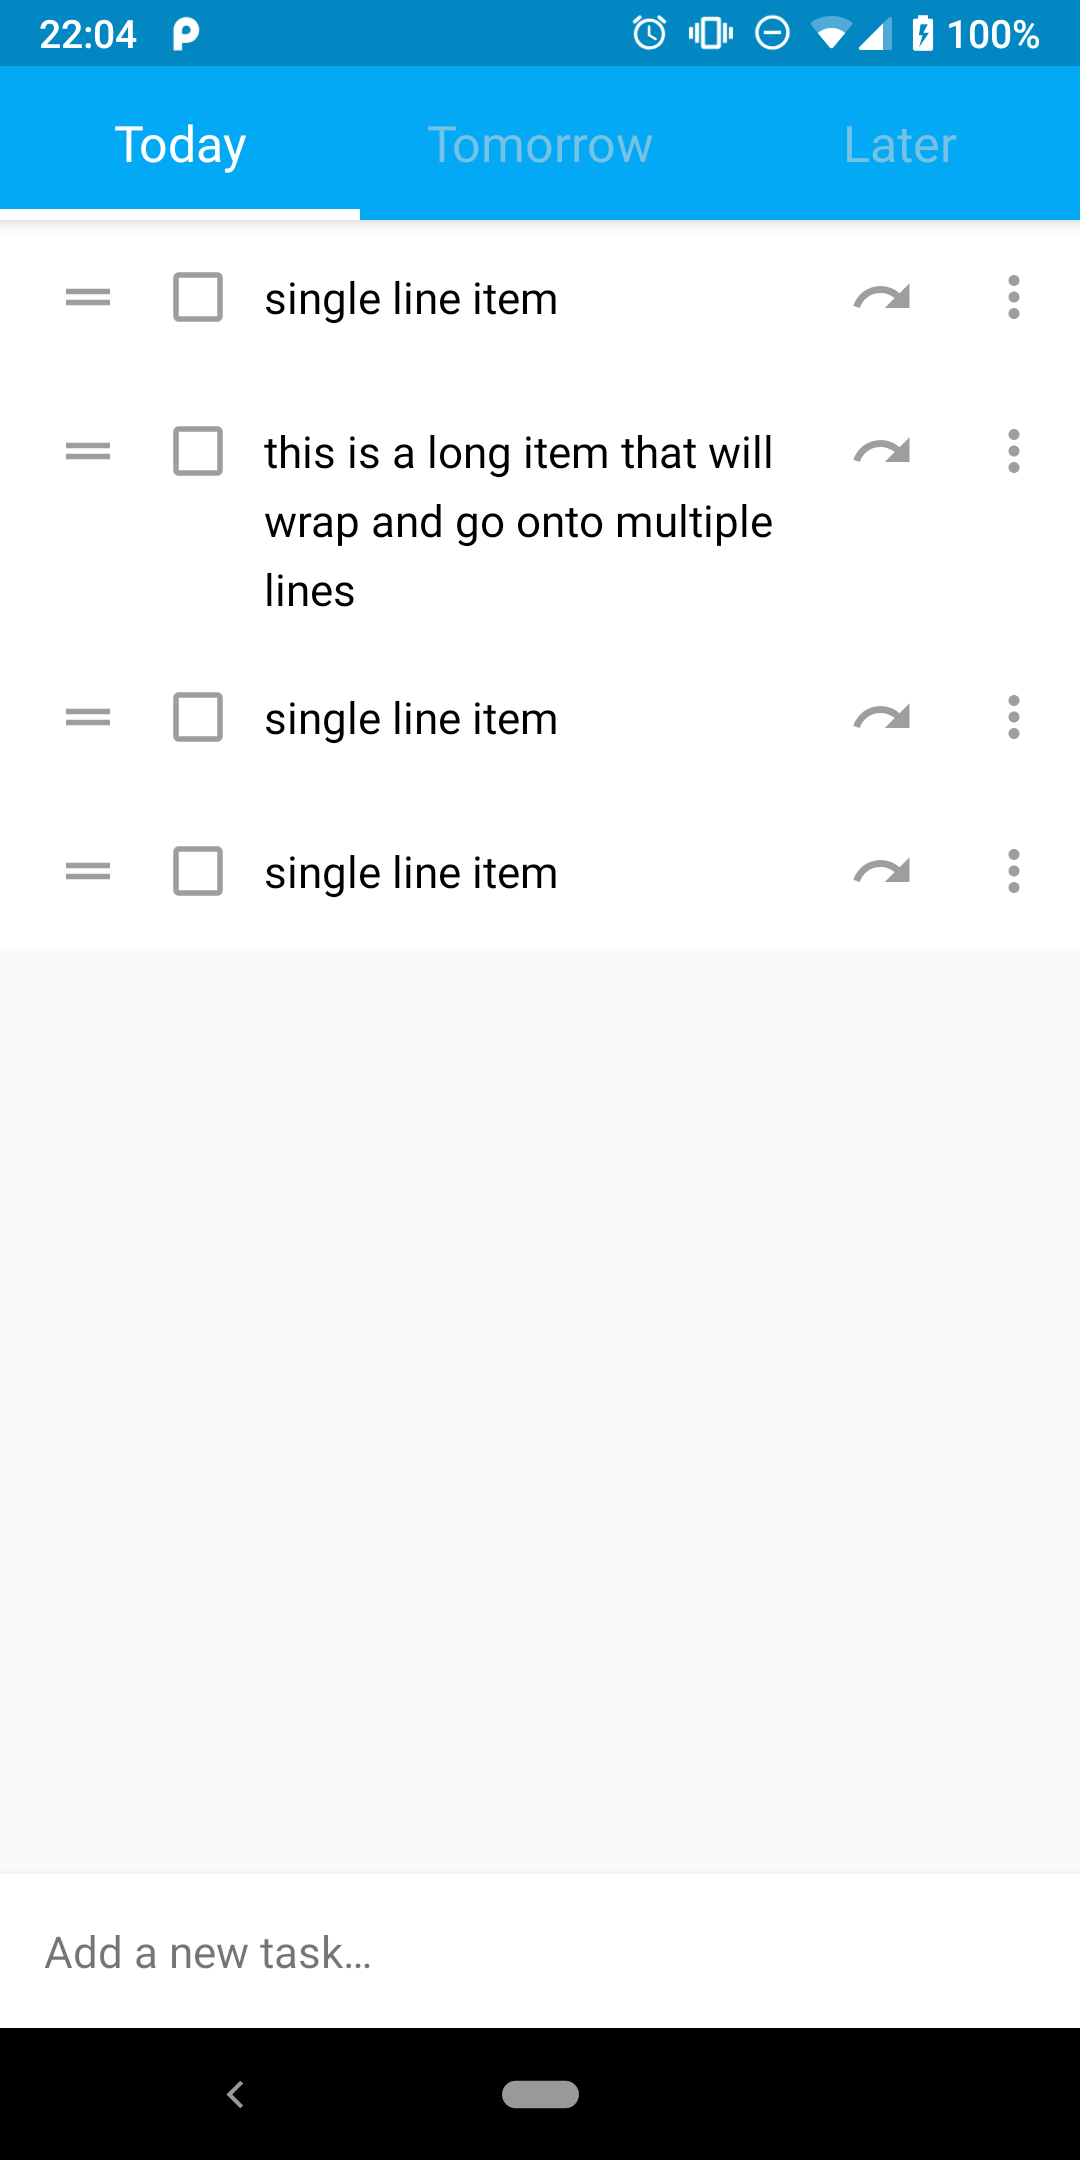Use the same data-set if possible to make the image-diff as clear as possible.
Please delete the screenshots from your desktop afterwards:
Do you have other tips for a speedy PR description or tools to help you in this? Let me know below or on Twitter!