Jetpack Compose custom navigation with KSP
Hi there! In a previous article, I discussed how awesome it is to automate navigation in Jetpack Compose with Kotlin Symbol Processing. This topic turned out to be pretty interesting, so I wanted to highlight a couple of practical use cases for building navigation in a classic app with flow login/signup -> main (with bottom navigation) -> in-depth, where the ‘main’ screen replaces the login flow. Interested? Let’s dive in!
First, let’s quickly recap what we talked about in the previous article:
- We have a
Navigatorcontract that abstracts the underlyingNavControllerlogic. - We also have
NavGraph,NavDestination,NavEntry,NavRoute, andNavArgumentscontracts to describe graphs, screens, routes, and arguments, respectively. - The
Destinationannotation triggers the generation mechanism for each screen.
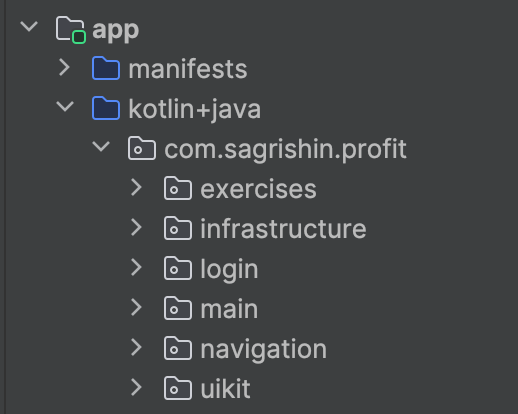
In this article, I want to provide more examples of how to use this. So, without further ado, let’s create a project. I’ll be using my fitness startup application as an example. Here’s the structure:
login— contains the user authentication flow.main— contains the main screens of the app, including the bottom navigation and three main tabs.exercises— includes a feature called from themainscreen (I call it 'in-depth').infrastructure—helper package for abstracting native Android components.uikit— contains reusable UI components.navigation— contains the root graph and theNavigatorimplementation.
At this stage my project looks like this:
Before we begin, I would like to briefly demonstrate an example how to setup navigation without using code generation (you can use it to compare next approach with this):
sealed interface NavDestinations {
  val route: String

  data object EnterIdentifier : NavDestinations {
    override val route = "/login/enter-identifier"
  }

  data object EnterPassword : NavDestinations {
    override val route = "/login/enter-password/{identifier}"
  }

  data object Main : NavDestinations {
    override val route = "/main"
  }

  data object SelectExercises : NavDestinations {
    override val route = "/exercises"
  }
}


@Composable
fun NavigationWithoutCodeGen() {
  NavHost(
    modifier = Modifier.fillMaxSize(),
    startDestination = NavDestinations.EnterIdentifier.route,
    navController = rememberNavController(),
  ) {
    composable(NavDestinations.EnterIdentifier.route) {
      EnterIdentifierScreen()
    }

    composable(NavDestinations.EnterPassword.route) {
      val identifier = requireNotNull(it.arguments!!.getString("identifier"))
      EnterPasswordScreen(EnterPasswordScreenArgs(identifier))
    }

    composable(NavDestinations.Main.route) {
      MainScreen()
    }

    composable(NavDestinations.SelectExercises.route) {
      SelectExercisesScreen()
    }
  }
}
This approach can be scaled to infinitely, eventually resulting in a structure similar to the one I generate rather than manually write (bc I’m to lazy to write it manually 🙃).
Let’s move on to a practical example. In my case, I have the following screens:
@Composable
@Destination(installIn = MainNavGraph::class)
fun EnterIdentifierScreen(navigator: Navigator)

@Composable
@Destination(installIn = MainNavGraph::class)
fun EnterPasswordScreen(args: EnterPasswordScreenArgs, navigator: Navigator)

@Composable
@Destination(installIn = MainNavGraph::class)
fun IdentifierConfirmationScreen(args: ConfirmationScreenArgs, navigator: Navigator)

@Composable
@Destination(installIn = MainNavGraph::class)
fun MainScreen(navigator: Navigator)

@Composable
@Destination(installIn = MainNavGraph::class)
fun SelectExercisesScreen(navigator: Navigator)
Navigation always starts from either EnterIdentifierScreen or MainScreen depending on whether the user is logged in or not. If the user is already registered, after entering the identifier (email or phone), they are taken to the password entry screen, otherwise, the signup process is opened where the user must confirm their phone number or email (I want to note that in real life, these flows can be infinitely larger. As an example, I wanted to show the simplest process).
In order to navigate from one screen to another, each screen has a navigator parameter, so each screen independently decides when and where to redirect the user.
So, how do we create navigation from a set of screens? For this, I have a NavHost with the following parameters:
@Composable
fun ExtendedNavHost(
  modifier: Modifier = Modifier,
  navHostController: NavHostController,
  navigator: Navigator,
  startDestinationRoute: NavRoute,
  entries: Set<NavEntry>,
)
And usage example, of course:
@Composable
fun Application() {
  val navHostController = rememberNavController()
  ExtendedNavHost(
    modifier = Modifier.fillMaxSize(),
    navHostController = navHostController,
    navigator = AppNavigatorImpl(
      navigator = NavigatorImpl(navHostController),
      navController = navHostController,
    ),
    startDestinationRoute = viewModel.obtainStartDestination(),
    entries = buildSet {
        add(LoginNavGraphImpl(EnterIdentifierRoute()))
        add(MainNavGraphImpl(MainRoute()))
        add(SelectExercisesScreenNavDestination)
    }
  )
}
In my case, I’ve made my own navigator to handle switching from the login screen to the main app. This helps keep things cleaner:
fun navigateToMain() {
  val toRoute = MainRoute().computeRoute()
  val startDestinationRoute = requireNotNull(navController.graph.startDestinationRoute) {
    "There should be a start destination for a graph"
  }

  navController.navigate(toRoute) {
    popUpTo(startDestinationRoute) { inclusive = true }
  }
}
So, even if we split the project into modules, it’s still easy to move around the app
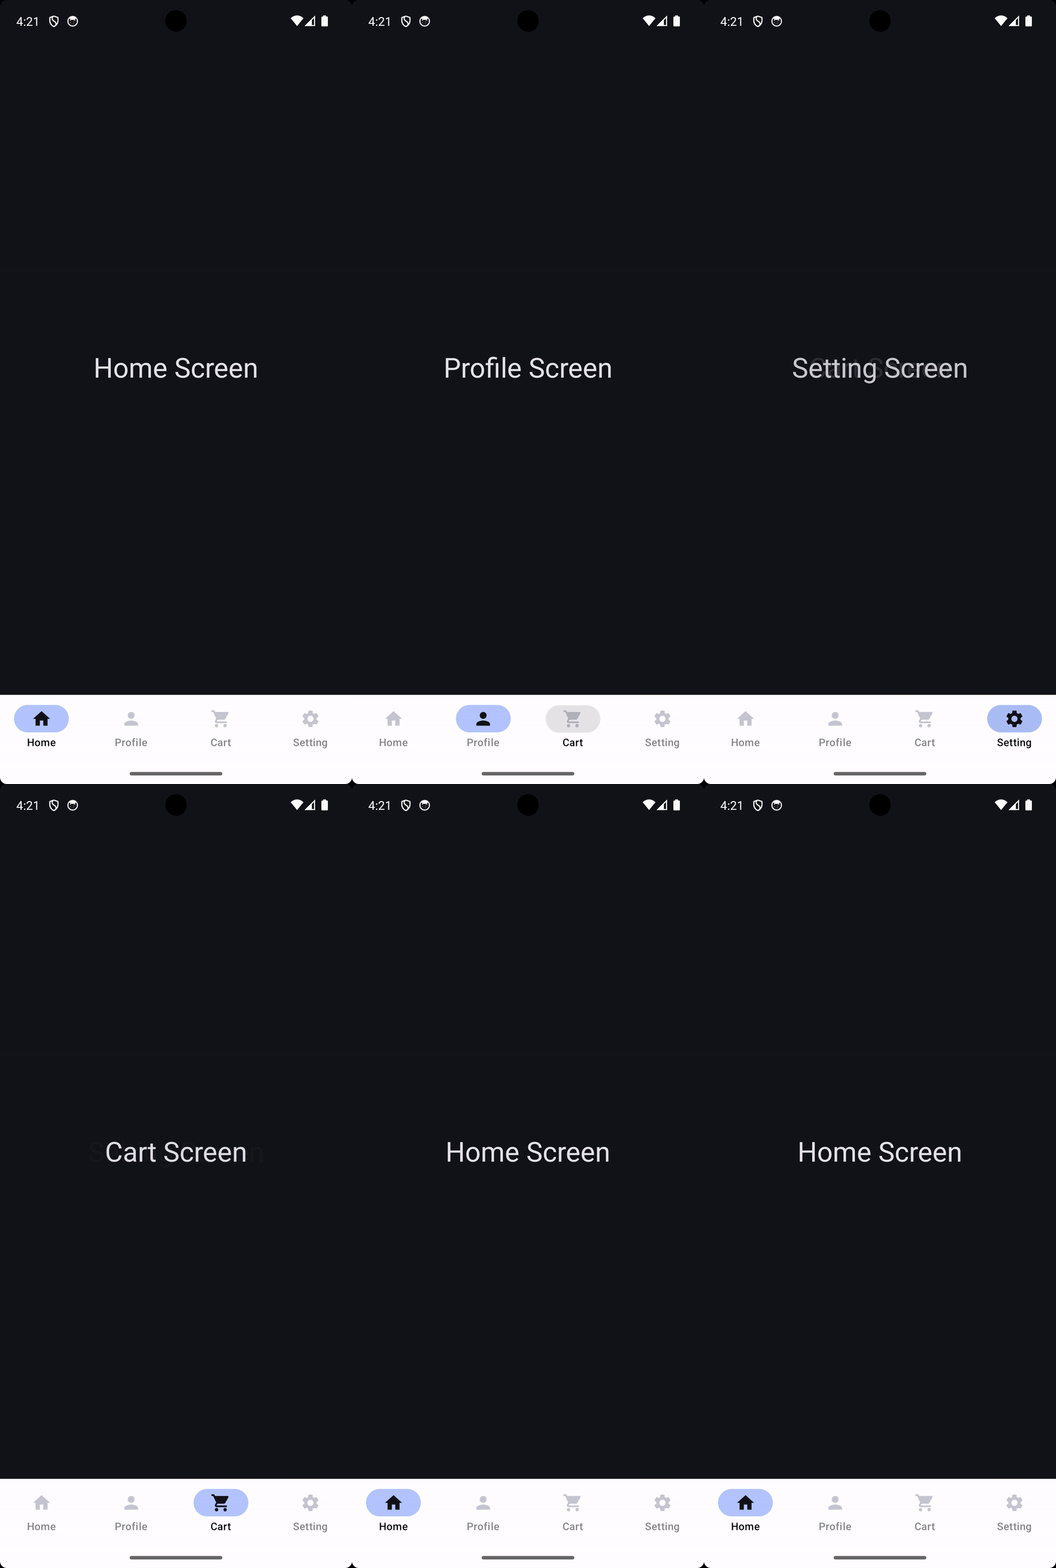
Let me show a small demo, how it is working:

Multi-module navigation
Have you heard about problems with navigation in multi-module projects? I heard many times! Finally, it’s time to debunk this issue once and for all. So, let’s separate main to a separate module:

This feature will have its own navigation contract, which will be implemented in my own AppNavigatorImpl , so this module will have possibility to communicate with other parts of the app, even knowing nothing about them:
interface MainNavigator {
  fun openExercisesSelector()
}
Next, what is necessary — is just cast navigator from params to this contract and just use it. Looks easy, isn’t it?
@Composable
fun DashboardTabScreen() {
  Button(onClick = {
    require(navigator is MainNavigator)
    navigator.openExercisesSelector()
  })
}
Last but not least, how about handling push notifications and directing the user to the appropriate screen? Let’s say we want to open the MainScreen upon receiving a push notification, and then navigate to the corresponding tab within that screen. All we need to do is, where we create the NavHost, add an additional listener for the StateFlow with the current arguments of the MainActivity:
val startArgs by viewModel.startArgs
  .filterIsInstance<MainActivityStartArgs>()
  .collectAsState(initial = null)
  .run { remember { this } }
Additionally, we need to modify the entries appropriately so that it accepts as a parameter the specific screen that needs to be displayed.
All source code you can discover in the repository by this link: repository.
Here’s a summary of what we’ve accomplished:
- Using Kotlin Symbol Processing, we’ve analyzed our codebase for a specific annotation.
- Next, we collected all necessary information about each screen (arguments, graph, isStart, etc.).
- Then, we generated
NavDestinations,NavRoutes, andNavGraphs. - After that, we defined the navigation in
MainActivityusingExtendedNavHostand the generatedNavEntry. - We’ve extended the
Navigatorto add custom navigation logic. - Finally, we’ve added logic to handle push notifications and navigate the user to the desired screen just as easily as navigating between screens.
That’s all for now! Thank you very much for reading this article. I’d also be grateful for your comments and/or likes!


