How to build a SnapChat clone on Android
👻 Hello! Lets Build a Clone of SnapChat
In this tutorial, I will walk you through on how to build an app similar in design like SnapChat on Android.
This tutorial only highlights similar design pattern used in major destinations of SnapChat App.
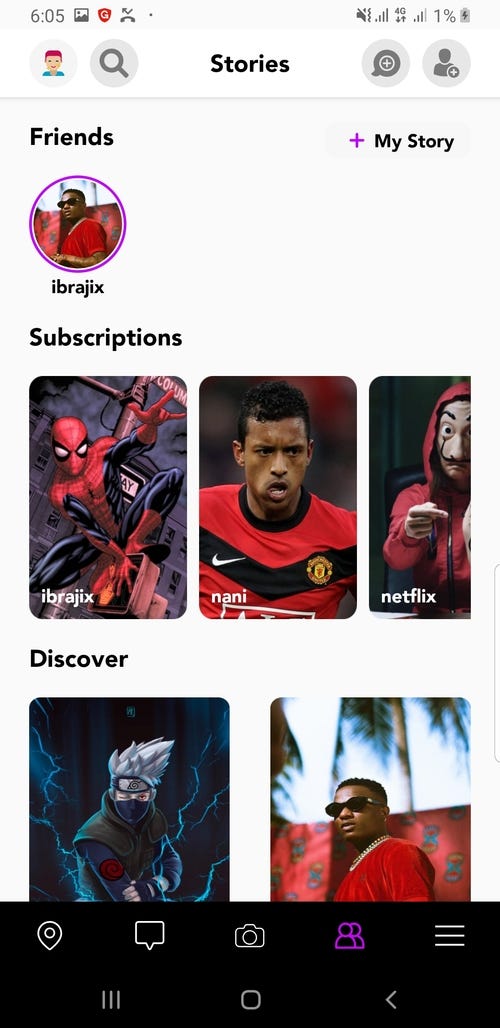
Here are some screenshots from the final app:


Video:

The development were in stages, I created different branches for each stage.
I made a twitter thread of stages as I was developing, you can check here
Full code on GitHub
Alright, let’s get started 👐 :
STEPS
- Set Up Android Studio
- Setup Dependencies and Assets
- Set up Splash Screen
- Setup Bottom Navigation
- Build Camera Screen
- Build Chat Screen
- Build Discover Screen
- Build Maps Screen
- Build Stories Screen
- Build View Stories Screen
SETUP ANDROID STUDIO
- Download Android Studio
Download Android Studio and SDK tools | Android Developers - Create a new android studio project
-File—New—New Project—Empty Activity— Input Project name —Finish
SETUP DEPENDENCIES AND ASSETS
Dependencies
- Open
build.gradle(app) - Inside the
pluginsblock, add these:
plugins {
    id 'com.android.application'
    id 'kotlin-android'
    //add this line
    id 'kotlin-android-extensions'
    //and this line (safe args)
    id 'androidx.navigation.safeargs.kotlin'
}- In the
androidblock { }, add these:
buildFeatures {
    viewBinding true
}- Add the following dependencies in the
dependenciesblock:
- Open
build.gradle(project), add these inside thebuildscriptdependenciesblock { }:
//Safe args navigation component
def nav_version = "2.3.4"
classpath "androidx.navigation:navigation-safe-args-gradle-plugin:$nav_version"- In
allprojectsblock { }, add this:
maven { url “https://jitpack.io" }Please check full code for all the dependencies:
full code
Assets
Check res/drawable directory for all drawables used, most of them were made by me 💁. Please, they are very important if you want to achieve similar design pattern.
Also check the values directory for colors, strings and themes
SETUP SPLASH SCREEN
- Add these to
themes.xml(underres/valuesdirectory)
<!-- Splash screen theme -->
<style name="splashScreenTheme" parent="Theme.AppCompat.Light.NoActionBar">
    <item name="android:windowBackground">@drawable/splash_screen</item>
</style>- Open MainActivity in OnCreate method add this:
setTheme(R.style.Theme_SnapchatClone) - Open
AndroidManifest.xmladd this inmainActivityblock:android:theme=”@style/splashScreenTheme”
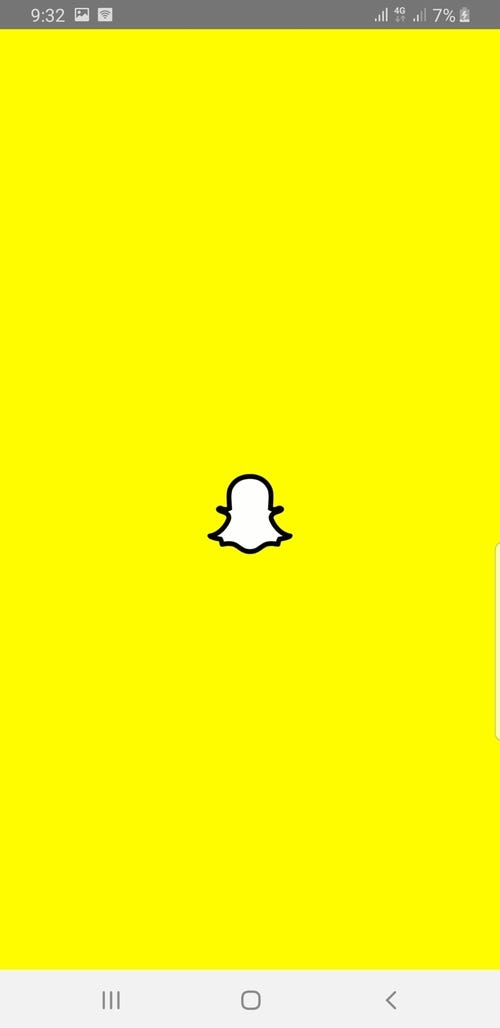
Run the app, and your splash screen should show:
SET UP BOTTOM NAVIGATION
- We will be making use of
navigation componentto set up our bottom navigation, so make sure the dependencies are added. - First create six new fragments — Name them:
CameraFragment, ChatFragment, DiscoverFragment, MapFragment StoriesFragment and ViewStoriesFragment (TheViewStoriesFragmentisn’t part of the bottom nav) - Right click
res— SelectNew,New Android Resource DirectoryDirectory name — menu
Resource type — menu - In the newly created
menudirectory, right click and selectNew,New Menu resource file, name the file bottom_navigation.xml - In bottom_navigation.xml, add these:
- Right click
res— SelectNew,New Android Resource DirectoryDirectory name — navigation
Resource type — navigation - In the newly created
navigationdirectory, right click and selectNew,New Navigation resource file, name the file nav_graph.xml - Now open bottom_navigation.xml file you just created and add these:
Now Open MainActivity.kt file, add a method for initialising and setting bottom navigation, your whole MainActivity.kt file will look like this:
- With this, your bottom nav will be up and running, run the app and you would see it :

BUILD CAMERA SCREEN
- For the main camera screen, we will be using Google’s android Camera X, so make sure the dependencies have been added
- Open
fragment_camera.xmladd the following code:
- Now open CameraFragment.kt, modify the code there, Comments are added to the code for clearer explanation.:
With that, you have successfully set up a basic camera system.
— You can take a photo through the front or back camera, which will be saved in your gallery.
— The crazy SnapChat filter system wasn't implemented (Hopefully, I hope I have more time to work on it 🤔 )

BUILD CHAT SCREEN
- For
fragment_chat.xml, I wont be pasting the code for this layout here (there are over 900 lines of codes written in that file) - On an ideal world, a single RecyclerView will be used or a model but I had to populate the data with custom views (Not the best practice, I know 💇)
- Here is the link to
activity_chat.xmlfile:
Click here - No changes were made to
ChatFragment.ktfile - Once you’ve done that, you should end up with something like this:

BUILD DISCOVER SCREEN
- For
fragment_discover.xmlCheck here for full code - No changes were made to
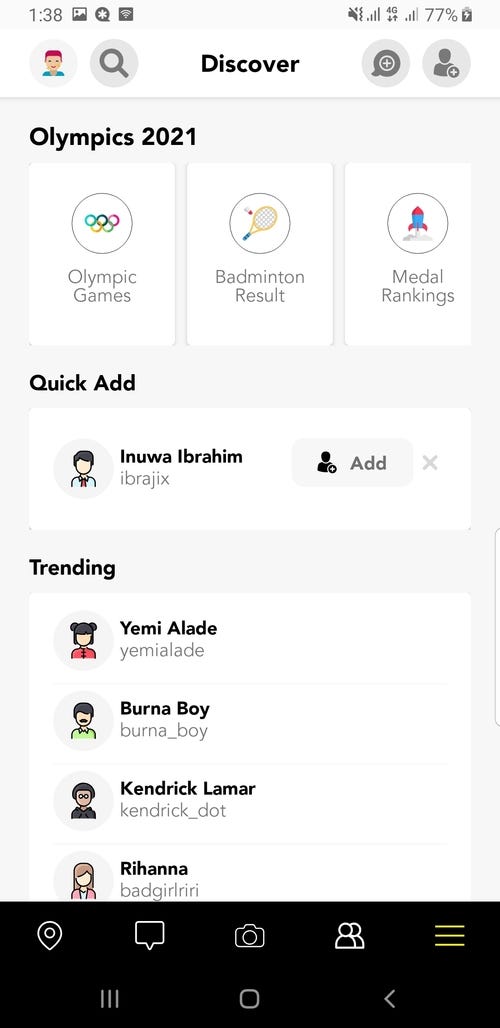
DiscoverFragment - You should have something like this:
BUILD MAPS SCREEN
- 🗺 SnapMap — Spoiler 👽 (I could not make a custom map view similar to SnapChat, I ended up using Google Maps)
- Watch this video on how to set up Google Maps
- Open
fragment_map.xml
- Open
MapFragment.ktadd the following code:
- With this, you should be able to get a map view — not so identical as the location map view shown on SnapChat 😒

BUILD STORIES SCREEN
- Click this link for full
fragment_stories.xmlcode - Open
FragmentStories.ktfile, we are going to be setting up click event on the stories view to ViewStoriesFragment - Full
FragmentStories.ktcode

BUILD VIEW STORIES SCREEN
- To implement stories kind of design, I used a library: StoriesProgressView
- Open
fragment_view_stories.xmluse the following code for your layout:
- Open
ViewStoriesFragment.ktand modify the code there, (The code is pretty much self explanatory)
You should end up with something like this:

With this, we have been able to clone major destinations found in SnapChat app.
I hope to improve on this when I have more time, but for now 👻
CONTACT ME
Thanks for reading 👌

