Flutter Thursday 02: Beautiful List UI and Detail page
In the previous article of thursday flutter series, we made a mobile app dashboard. This will focus on making a list of items and a detail page for each item. As before, I got this design from Pinterest. This will be in two parts. NOTE: as at the time of writing this, I could not get most of the icons used on the original design, so you will see different icons in most places.

The first part will focus creating the list of lessons. Open your terminal and enter the following commands to create the app and change into the dirctory
$ flutter create beautiful_list$ cd beautiful_list
All our code will be written in the lib/main.dart file. Get rid of the content and add the following code
Here we set the primary colour for the app to RGBO(58, 66, 86, 1.0) and the widget for the default route of the app to ListPage, which we will create next.
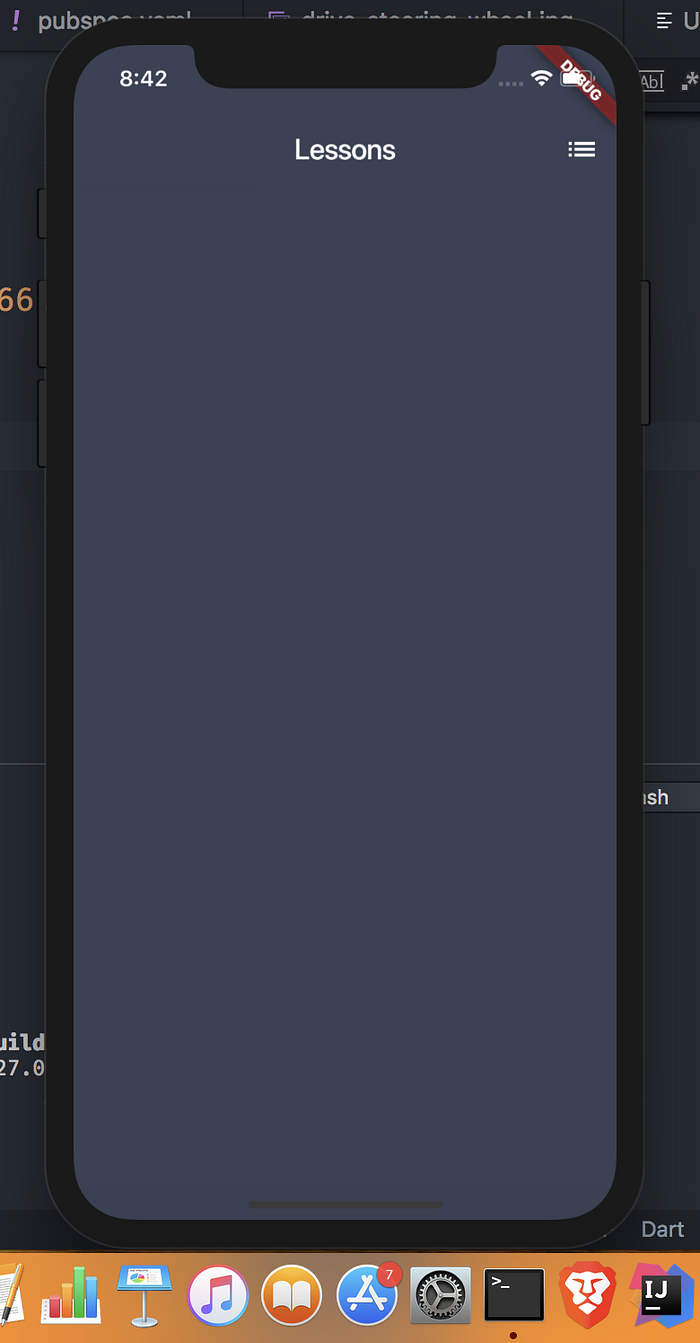
Set the background color to Color.fromRGBO(58, 66, 86, 1.0) and the appBar to topAppBar (This does not exist yet). Next let’s create the topAppBar , Place this code within your ListPageState class. This basically set the elevation, background colour, the top right actions buttons and the value of the title comes from the default constructor on initialisation. For this article, we write all our code inside the build(BuildContext context) method, ideally you write these as widgets outside it.
Let’s see how this displays. Enter the following commands
$ open -a Simulator$ flutter run
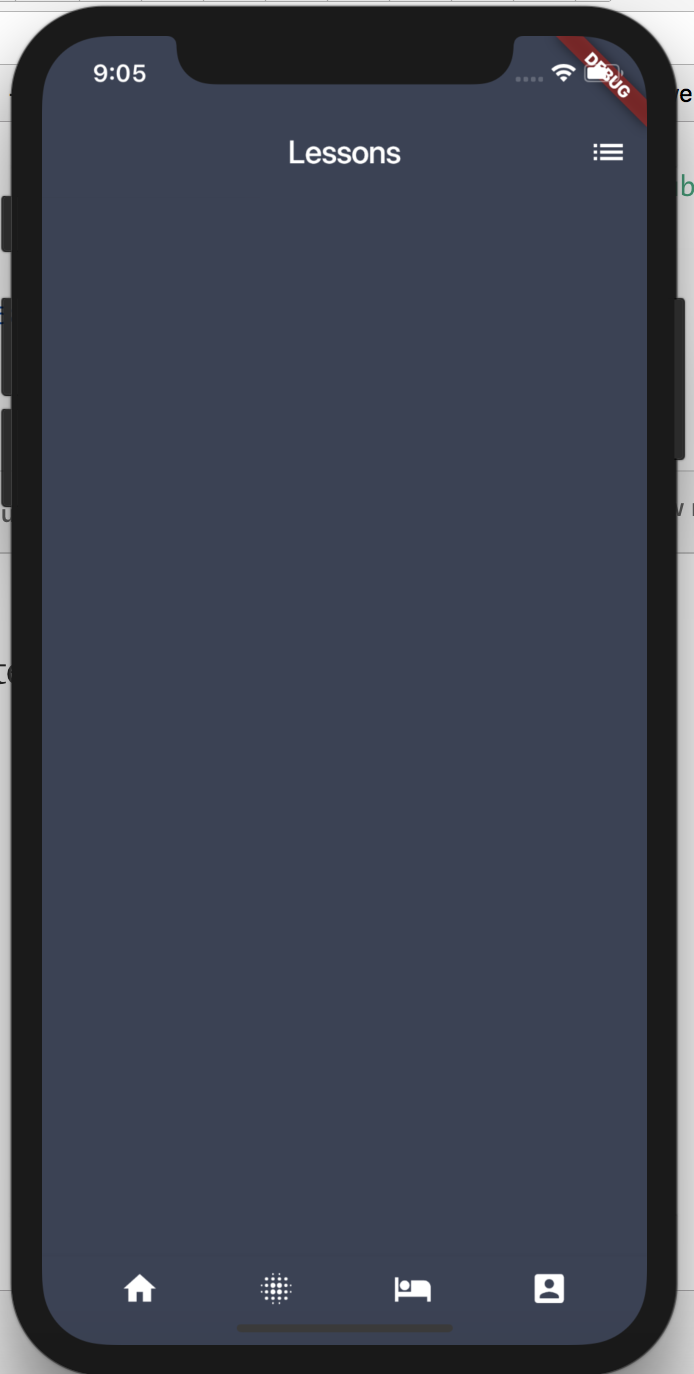
Next let’s make the bottom navigation before the list items. Use the BottomAppBar class. Define a container, then specify the height and child in this case a BottomAppBar. Set the colour to Color.fromRGBO(58, 66, 86, 1.0) and the child widget to a Row widget. BottomAppBar like most others can only have one child. A Row widget takes a list of children, so we will define a list of Icon buttons. IconButton takes the icon to be displayed and onPressed callback to listen for pressed events. Also use the mainAxisAlignment to spaceEvenly to evenly distribute the icons at the bottom. Here is the code below
Next add a bottomNavigationBar to the Scaffold and set the value to makeBottom container created above. bottomNavigationBar is a widget displayed at the bottom of an app.
press “R” to restart (and rebuild state). The result should look as shown below:
Let’s make the list of items. First include the body which is the primary content of the scaffold.
return Scaffold( backgroundColor: Color.fromRGBO(58, 66, 86, 1.0), appBar: topAppBar, body: makeBody, bottomNavigationBar: makeBottom,);
We have have not created the makeBody container yet. Let’s do that now
This is a container with a ListView.builder. From the documentation, ListView.builder “Creates a scrollable, linear array of widgets that are created on demand.This constructor is appropriate for list views with a large (or infinite) number of children because the builder is called only for those children that are actually visible”.
ItemCount is the number of items the list will start with. shrinkWrap is the extent of the scroll view and scrollDirection defines the axis along which the List view scrolls. ItemBuilder builds the list item widgets, so basically it will return makeCard 10 times in this case. We will look at returning dynamic data in the second article.
Next we need to create makeCard Card and create the items for the list. I choose to use a card, you can use a Container or any other widgets that you can employ to achieve the same goal. We are attempting to make each of these lesson items

We will use a Card widget along with the ListTile class. Set the elevation to 8.0, vertical and horizontal margins to 6.0 and 10.0 respectively. The we need to set the colour for the Card. So we add a child Container widget then use then apply box decoration as shown below
Next create the makeListTile. A ListTile suits well in this case as it gives the following widgets: a leading (a widget to display before the title), trailing (a widget to display after the title), subtitle (displayed below the title) and well as the title for the lesson title
press “R” to restart (and rebuild state). The result should look as shown below: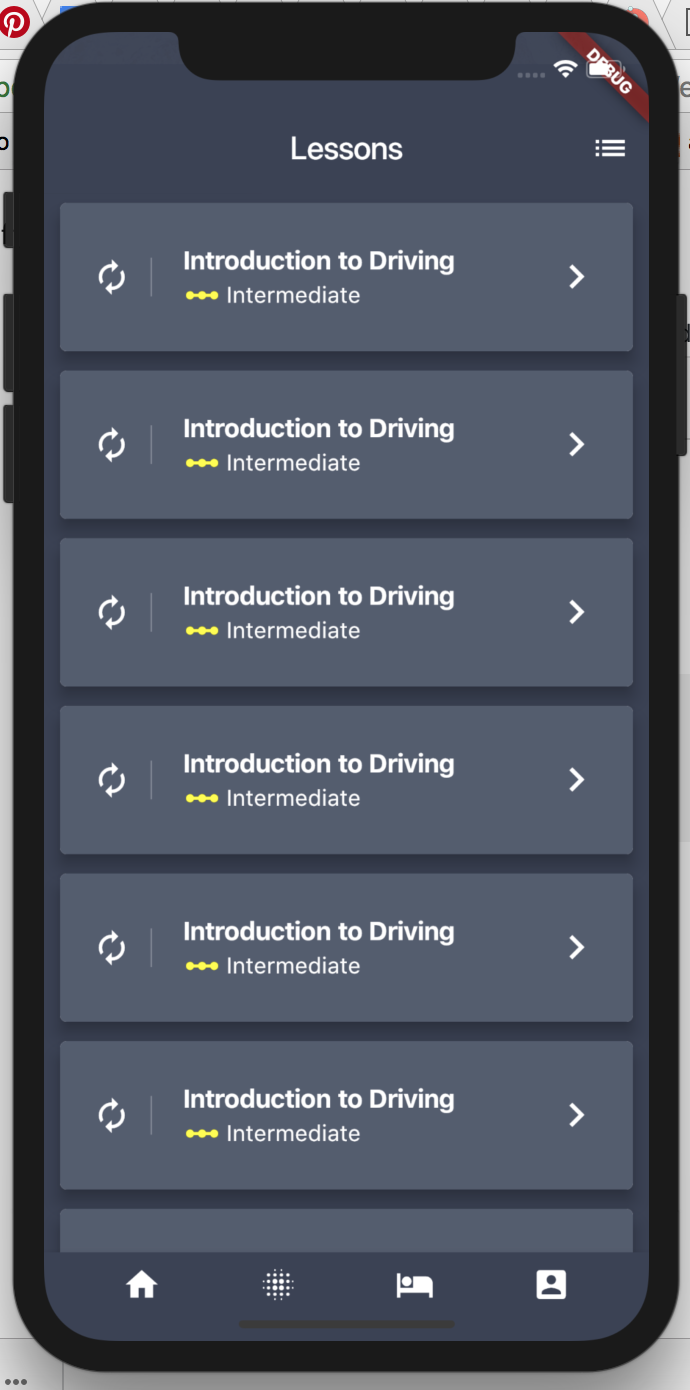
In the next article we will fix the icons, fonts, add dynamic lesson data, navigation and the detail page. CHECK OUT PART 2 HERE
Source code for Part 1 -2: https://github.com/shubie/Beautiful-List-UI-and-detail-page
You can read the rest of Flutter Thursday series here: https://medium.com/@afegbua/flutter-thursday-series-9564d04e63a7
Thank you for reading this far. Let me know if you find errors, typos or better ways to do this. You can hit me up on Twitter @afegbuas
Keep fluttering