Flutter Animation : Creating medium’s clap animation in flutter
In this article we would be exploring flutter animation from scratch. We would learn some core concepts about animation by creating a mock-up of medium clap animation in Flutter.
As the title says this post would focus more on animation and less on the basics of flutter.
Getting Started
We would start from the code flutter creates when creating a new flutter project. Simply create a new flutter project and we are greeted with this code.
Flutter provides us some freebies with the starter code. It is already managing the state of click count and has created a floating action button for us.

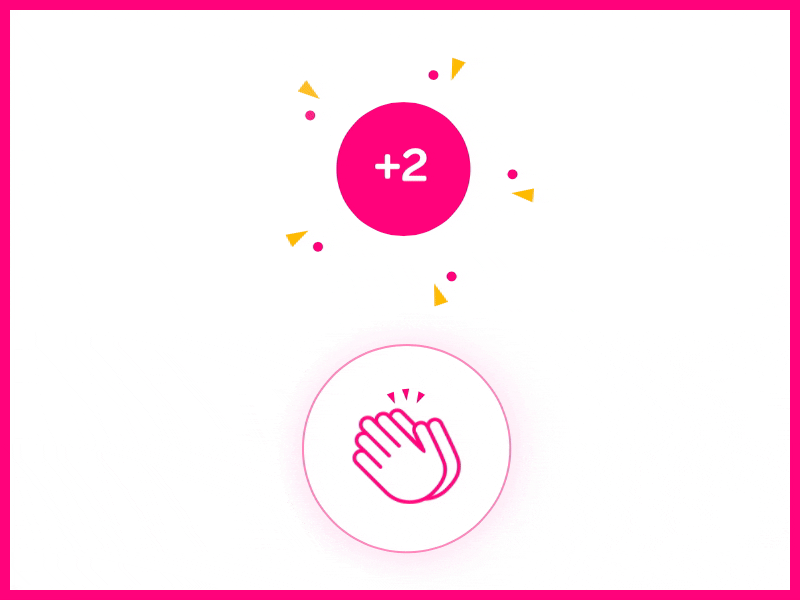
Below is the end product we want to achieve.
Let’s take a quick look and fix some easy issues before adding animation.
- Change button icon and background.
- Button should keep on adding count when we hold the button.
Lets add those 2 quick fixes and get started with animation.
Looking at the final product, there are 3 things we need to add.
- Change size of widgets.
- Show score widget when button is pressed and hide it when released.
- Add those tiny sprinkle widget and animate them.
Lets take this one by one and slowly increase the learning curve. To get started, we need to understand some basic things about animation in flutter.
Understanding components for a basic animation in Flutter
An animation is nothing but some values which change over time. For example, when we click on the button we want to animate the score widget rising from bottom, and when we leave the button it should rise even more and then hide.
If you look only at the score widget, we need to change the values of position and opacity of widget over some time.
Let’s say we want out score widget to take 150 ms to reveal itself from bottom. Think of this on a timeline as below
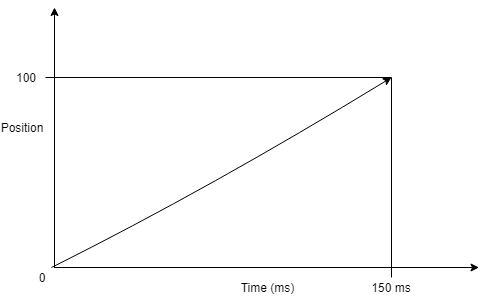
This is a simple 2D graph. The position would change with time.
Notice that the diagonal line is straight. This can even be a curved if you like.
You can make the position increase slowly with time and then get faster and faster. Or you could have it come in a super high speed and then slow down at the end.
This is where we get to introduce out first component : Animation Controller.
Here, we have created a simple controller for the animation. We have specified that we want to run the animation for a duration of 150ms. But, what is that vsync?
Mobile devices refresh their screen after every few milliseconds. That is how we perceive set of images as a continuous flow or a movie.
The rate at which the screen is refreshed can vary from device to device. Let’s say the mobile refreshes its screen 60 times a second (60 Frames per Second). That would be after every 16.67 ms, we feed a new image to our brain. Sometimes, things can get misaligned (we send out a different image while the screen was refreshing) and we get to see screen tearing. VSync takes care of that.
Let us add a listener to the controller and run the animation.
The controller generated numbers from 0.0 to 1.0 in 150 ms. Notice that the values generated are almost linear. 0.2, 0.3, 0.4 … How do we change this behavior? This would be done by out second component : Curved Animation
We create a Curved animation by setting the parent as our controller and providing the curve we want to follow. There are a range of choices of curves we can use at flutter curves documentation page. The controller provides value from 0.0 to 1.0 to the curved animation widget over a period of 150 ms. The curved animation widget interpolates those values as per the curve we have set.
Still, we are getting value from 0.0 to 1.0. But we want values from 0.0 to 100.0 for our score widget. We could simply multiply by 100 to get the result. Or we can use the third component : The Tween Class
The tween class generated values from begin to end. We have used our earlier scoreInAnimationController which uses a linear curve. Instead we could have used our bounce curve to get different value. Advantages of Tween does not end here. You can tween other things too. You can directly tween color, offset, position and other widget properties using classes which further extends the base tween class.
Score Widget Position Animation
At this point we have enough knowledge to make our score widget pop out from bottom when we press the button and hide when we tap up.

The score widget pops out on tap. But there is still one problem.
When we tap the button multiple times, the score widget pops out again and again. This is because of a small bug in above code. We are telling controller to forward from 0 each time a button is tapped.
Now, let’s add the out animation for the score widget.
First, we add an enum to manage the state of score widget more easily.
Then, we create an out animation controller. The animation controller will animate the position of widget from 100 to 150 non linearly. We have also added a status listener for animation. As soon as animation is over, we set the state of our score widget to hidden.
When a user removes his finger from the widget, we would set the state accordingly and kick off a timer of 300 ms. After 300 ms, we would animate the widget’s position and opacity.
We have also modified the tap down event to handle some corner situations.
Finally, we need to choose which controller’s value we need to use for the position and opacity of our score widget. A simple switch does the job.

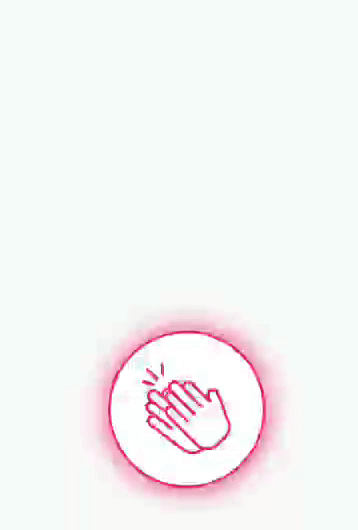
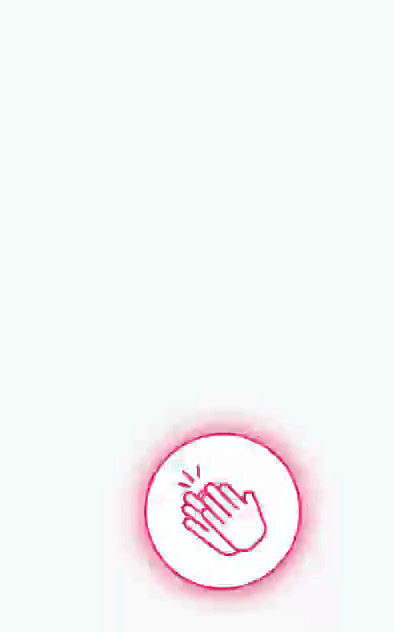
The score widget works nicely. It pops in and then fades out.
Score Widget Size Animation
At this point, we pretty much have idea to how to change size as well when the score increases. Let’s quickly add the size animation and then we move onto to tiny sparkles
I have updated the ScoreWidgetStatus enum to hold an extra VISIBLE value. Now, we add a new controller for the size property.
The controller generates value from 0 to 1 over a period of 150 ms and as soon as it completes, we generate value from 1 to 0. This gives a nice growing and shrinking effect.
We have also updated our increment function to start the animation when a number is incremented.
We need to take care of case which deals with Visible property of the enum. To do so, we need to add some basic conditions in the Touch down event.
Finally we use the value from the controller in our widget.
Full code, can be found at this github gist. We have both size and position animation working together. Size animation needs a bit tweaking, which we would person at last.
Sparkles animation
Before doing sparkles animation, we need to do some tweaks on the size animation. The button is growing too much as of now. The fix is simple. We change the extrasize multiplier from 10 to a lower number.
Now coming to the sparkles animation, we can observe that sparkles are just 5 images which whose positions are changing.
I made the image image of a triangle and a circle in MS Paint and saved that to flutter resources. Then we can use that image as Image asset.
Before animation, let us think of positioning and some tasks we need to accomplish.
- We need to position 5 images, each at different angles to form a complete circle.
- We need to rotate the images as per the angle.
- We need to increase radius of circle with time.
- We need to find the coordinates based on angle and radius.
Simply trigonometry gives us formula to get x and y coordinates based on sin and cosine of the angles.
Now, we need to create 5 of these widgets. Each widget would have a different angle. A simple for loop would do the trick.
We simply divide 2*pi, (360 degrees) into 5 parts and create a widget accordingly. Then, we add the widget to an array which would serve as child of a stack.
Now, at this point most of work is done. We only need to animate the sparkleRadius and generate a new firstAngle when score is incremented.
And that is our introduction to basic animations in flutter. I’ll keep exploring flutter more and learn to create advanced UI.
You can get the full code at my git repo here.