Creating a Logo with Frosted Glass Effect in Jetpack Compose

In this tutorial, we will create an animated logo with a frosted glass effect. We will use the haze library by Chris Banes to simulate glass and graphicsLayer for 3D animation.

Project Setup
First, you need to add the haze dependency to your build.gradle:
Main Component
PerplexityLogo consists of two blocks (RoundedBoxLeft and RoundedBoxRight), which create the frosted glass effect.
💡 This approach was chosen because, after rotating the element by 180°, the image was mirrored, which didn’t produce the desired effect. In the image below, you can see that the yellow color appears on both the left and right sides.

It is also essential to specify hazeStyle. If not set, the app will crash with the following error:
java.lang.IllegalArgumentException: backgroundColor not specified. Please provide a color.To avoid this, define your own style or use the predefined ones from the Materials library. In my example, I used a custom style to experiment with different types of glass effects.
RoundedBox
The key difference between the left and right parts is the transformOrigin value:
transformOrigin = TransformOrigin(1f, 0f)Both blocks use graphicsLayer to create a perspective effect.
Page
This part is straightforward — a Box with a border and our glass effect. If needed, you can add a fill color or a parallax effect to make the logo look even more impressive.
zIndex
In our example, zIndex plays a crucial role
For the left side, we define it as:
zIndex(rotationAngle)For the right side, we use:
zIndex(360 - rotationAngle)hazeSource
To achieve the blur effect, you first need to get information from the image behind. That’s why we extracted the hazeState from PerplexityLogo externally, where our background is, and use hazeSource to retrieve it. It’s essential to set zIndex = 0f
In PerplexityLogo, we set the zIndex based on the rotation:
.hazeSource(hazeStateLeft, rotationAngle + 1f)following the same principle as zIndex, but with +1 (since the previous layer was 0)
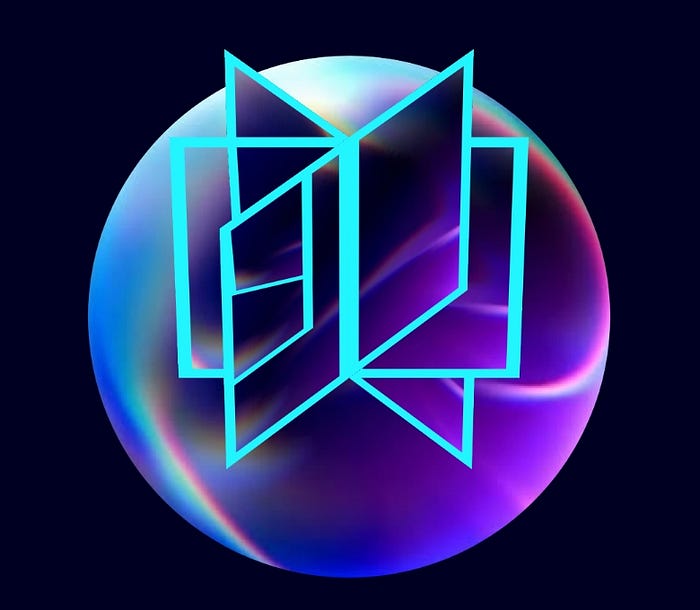
The result:
This code creates an animated Perplexity logo with a frosted glass effect. By using HazeEffect and graphicsLayer, we achieve a beautiful visual effect with smooth animation
🔗 Link to the repository with the code:
https://github.com/rmnkhr/perplexity_ui_experiment

